Build planning / Donor and propulsion
Choose the right donor for your build
Find donor and propulsion options for your Sitka kit, then check condition, fit and the complete installation before buying.
Donor and propulsion options by kit
Start with Sitka’s options for your hull. The notes identify preferred packages, tighter fits and setups that need extra fabrication. Larger kits also have marine engine-and-pump or outboard-jet options.
Before buying, review the exact donor model and year, complete engine-and-pump package, intended load and installation plan with Sitka. Include the mounts, shaft, intake, exhaust, cooling and controls in that review.
6ft Nano
Donor / propulsion options
- Kawasaki 650 Tandem Sport or 750
- Yamaha 701 or 760
- Sea-Doo 787
Build notes
- Kawasaki 650/750 is preferred.
- The Sea-Doo 787 is a tight fit.
- Spark / 900 ACE needs an 8ft or larger hull.
8ft Rowdy
Donor / propulsion options
- Kawasaki 650 or 750
- Yamaha 701 or 760
- Sea-Doo 717 or Spark/Trixx 900 ACE
Build notes
- Spark requires airbox and driveshaft clearance work.
- Kawasaki 900/1100 and Yamaha triples are additional options that require fabrication.
10ft Scout
Donor / propulsion options
- Kawasaki 750
- Yamaha 760 or TR-1
- Sea-Doo Spark
- Honda AquaTrax
Build notes
- Kawasaki 750 is at the lower end of recommended power.
- Yamaha SVHO and Sea-Doo 325 are custom setups to discuss with Sitka individually.
12ft Sidekick
Donor / propulsion options
- Kawasaki 15F
- Honda AquaTrax F-12X or R-12X
- Sea-Doo 951 or 4-TEC
- Yamaha SHO or SVHO
Build notes
- Four-stroke packages around 120 hp and up are preferred.
- Yamaha 760 also works for cruising, with less acceleration.
14ft Creekboat
Donor / propulsion options
- Kawasaki 15F
- Yamaha TR-1, MR-1 or SVHO
- Honda AquaTrax
- Sea-Doo 951
Build notes
- Choose the 16ft Creekboat for heavier automotive engine packages such as LS.
15ft Sportsman
Donor / propulsion options
- Kawasaki 15F
- Yamaha 1.8L/1.9L naturally aspirated, SVHO or XLT1200
- Honda AquaTrax
Build notes
- Generally favors packages around 160 hp and up.
16ft Creekboat / 1668
Donor / propulsion options
- Jet-ski packages with 160 hp or more
- SportJet
- Larger engines with an American Turbine AT309 or Hamilton H212 pump
Wolverine
Donor / propulsion options
- LS engine with a Southern Jet, Hamilton H212 or American Turbine AT309 pump
Build notes
- Suited to larger marine engine-and-pump packages.
20ft HDPE Sled
Donor / propulsion options
- Outboard jet with 70 hp or more
Start with a complete donor
A donor is the jet ski whose engine, jet pump and selected supporting parts you reuse in the boat. A complete, running jet ski lets you check those parts together. Photograph the working system before dismantling it so you can identify the parts and connections your mini jet boat will need.
An engine-only purchase can still work, but list and price the missing pump, electronics, controls, exhaust and cooling components first. Keep the donor’s exact make, model, year and engine identification with that list.
For a Sitka build, review the donor with your chosen hull, passenger and gear load, and intended use before buying. The complete installation needs to fit the boat.
Compare donor types
Start with the options for your Sitka kit, then narrow your search to an exact donor model and year. Compare the complete systems, including their size, weight, controls and cooling needs. These engine-family descriptions help you understand the work involved in each approach.
| Donor approach | What to investigate |
|---|---|
| Older carbureted two-strokes | Yamaha 701 and 1100 engines appear in the aluminum boat builds below. Check engine condition, carburetors, fuel delivery, ignition equipment and the space occupied by the exhaust. |
| Compact four-strokes | The Sea-Doo Spark uses the Rotax 900 ACE family; Yamaha’s TR-1 is a 1,049 cc three-cylinder. Identify the matching pump, injection electronics, controls and cooling arrangement before comparing the packages. |
| Supercharged four-strokes | Include the supercharger, intercooler where fitted, associated plumbing and maintenance history in the review. Confirm the complete package’s space and weight requirements with Sitka for your chosen hull. |
Sea-Doo Spark specifications (PDF) · Yamaha TR-1 specifications · Sea-Doo supercharged-engine equipment (PDF)
Check the complete installation
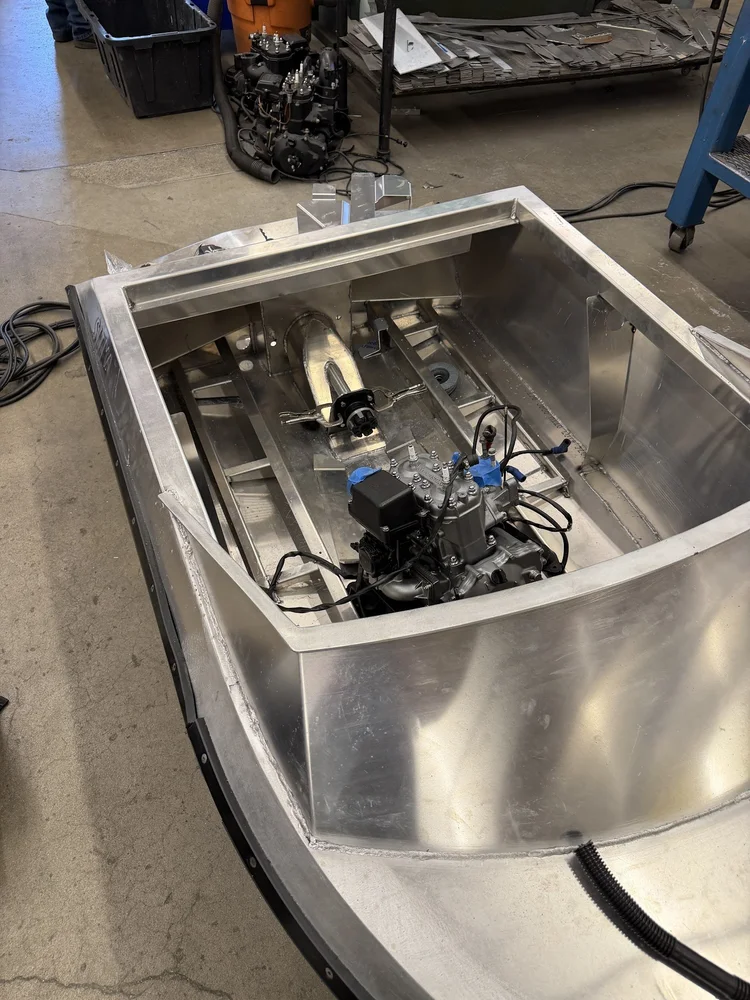
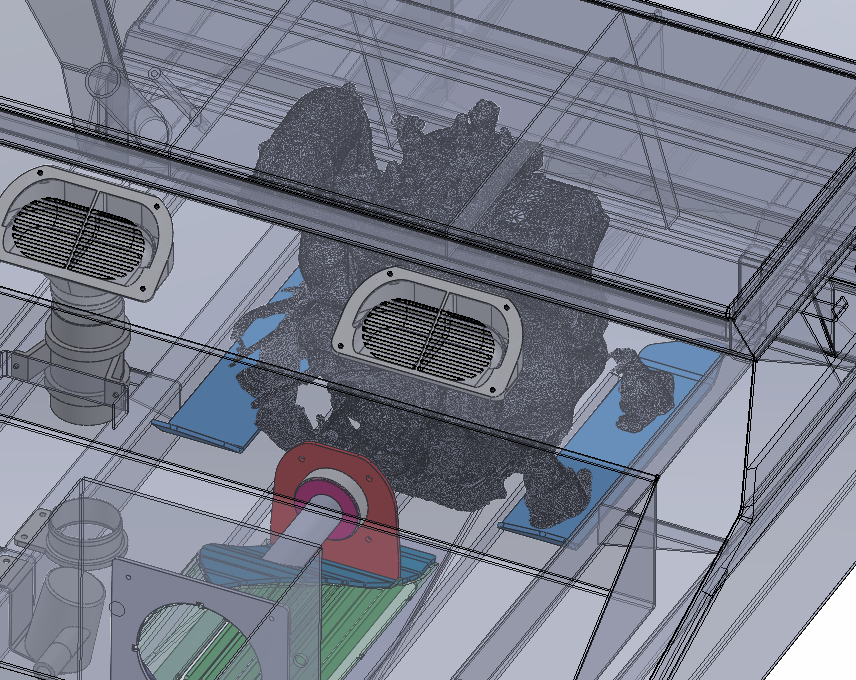
- Measure the complete package. Include the intake, exhaust, waterbox (exhaust silencer), mounts, hoses and room to reach service items. An engine that fits between the stringers may still leave no room for its exhaust.
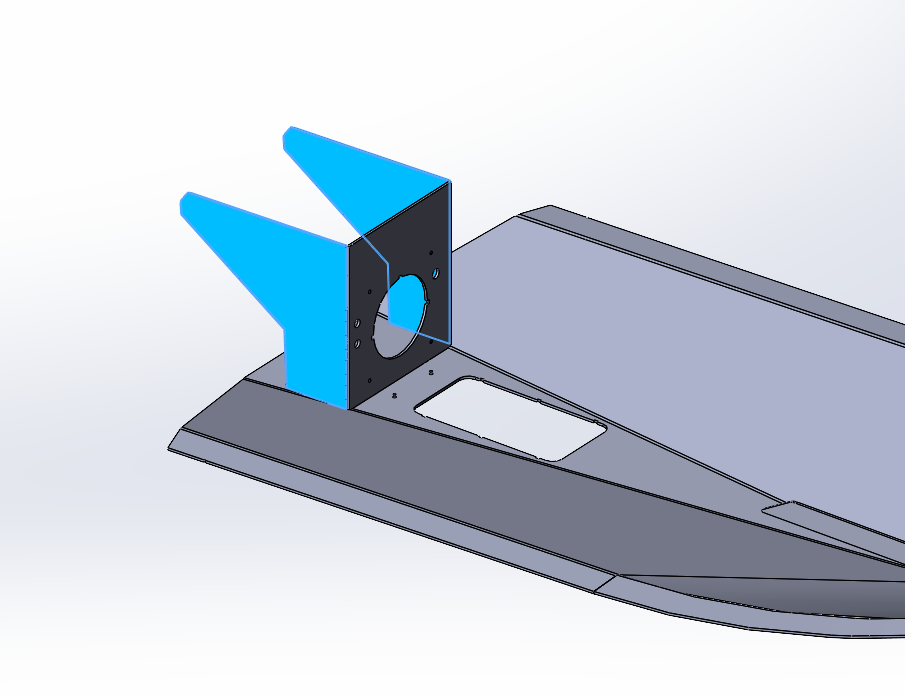
- Match the pump and intake. Identify the pump housing, impeller, nozzle, intake and adapter arrangement. Confirm how the shaft support and seals attach to the hull.
- Check the shaft seals and supports. Identify the bearing carrier and seal type, its condition, installation dimensions and service access. An adapter’s bolt pattern alone does not establish shaft or seal compatibility.
- Set the shaft layout before ordering modifications. Review engine position, coupling, bearing carrier, shaft length and alignment together.
- Check the controls from helm to stern. Measure the steering and throttle routes, cable travel, and any reverse or trim arrangement.
An engine name does not identify the pump. Yamaha’s published specifications pair the TR-1 SuperJet with a 144 mm pump and the TR-1 High Output VX with a 155 mm pump. Record the donor model and year as well as the engine name.
Inspect the donor before buying
Get the operator’s guide for running, flushing and maintenance instructions, and the service or workshop manual for diagnostics, wiring and repair specifications. Use the information for the exact model and year to work through the checks below. If you lack the tools or experience for a check, or are unsure how to interpret the results, ask a jet ski technician to help with that inspection:
- What is the history? Ask about hours, storage, saltwater use, overheating, water ingestion, rebuilds and modifications. Request receipts and service records.
- Can the seller demonstrate it running? Arrange a demonstration under the conditions allowed by its operator’s guide, and note starting behavior, warnings, unusual noise and leaks. A brief start alone does not establish engine or pump condition. Out-of-water running and flushing have model-specific limits; get the exact procedure before attempting either.
- How healthy is the engine? Compare compression or other appropriate diagnostic results with that model’s service specifications. Keep the readings and any fault information with the inspection report.
- What condition is the pump in? Inspect the impeller, wear surface, bearings, shaft and seals using the model’s service procedure. Include repair needs in your comparison.
- Is the electrical package complete? Check the harness, connectors, engine controller, instruments and working key or security equipment where fitted. Photograph cut wires and missing components.
- What needs replacing before installation? Get a written list and check parts availability before committing to the donor.
Keep the purchase paperwork, identification-label photos and inspection results together. A low purchase price is only useful once the missing parts and repair work are understood.
For Sea-Doo donors, find operating and flushing instructions by model and year in the BRP operator-guide library. Obtain the separate service manual for diagnostic and installation specifications.
Keep the useful parts together
Photograph connections and label parts before dismantling the donor. Keep these assemblies available until your installation plan is settled:
| Assembly | Parts to inventory |
|---|---|
| Engine and drive | Engine, mounts, coupling, shaft, shaft support, seals, pump, impeller, nozzle and associated hardware. |
| Electronics | Engine controller or ignition box, wiring harness, sensors, fuse and relay equipment, instrument display, start/stop controls and working key or security components where fitted. |
| Helm controls | Throttle assembly, steering components and any reverse or trim controls, actuators and brackets. Check the required cable lengths and electrical extensions for the boat. |
| Fuel, exhaust and cooling | Fuel-delivery components, waterbox, exhaust fittings, cooling fittings, hoses and mounting brackets. Record how they were connected before removal. |
Inspect each part before reuse and confirm that it suits the new installation. Keep the original components for reference even when the boat needs a different tank, longer cables or revised mounting brackets.
Dismantle with the boat installation in mind
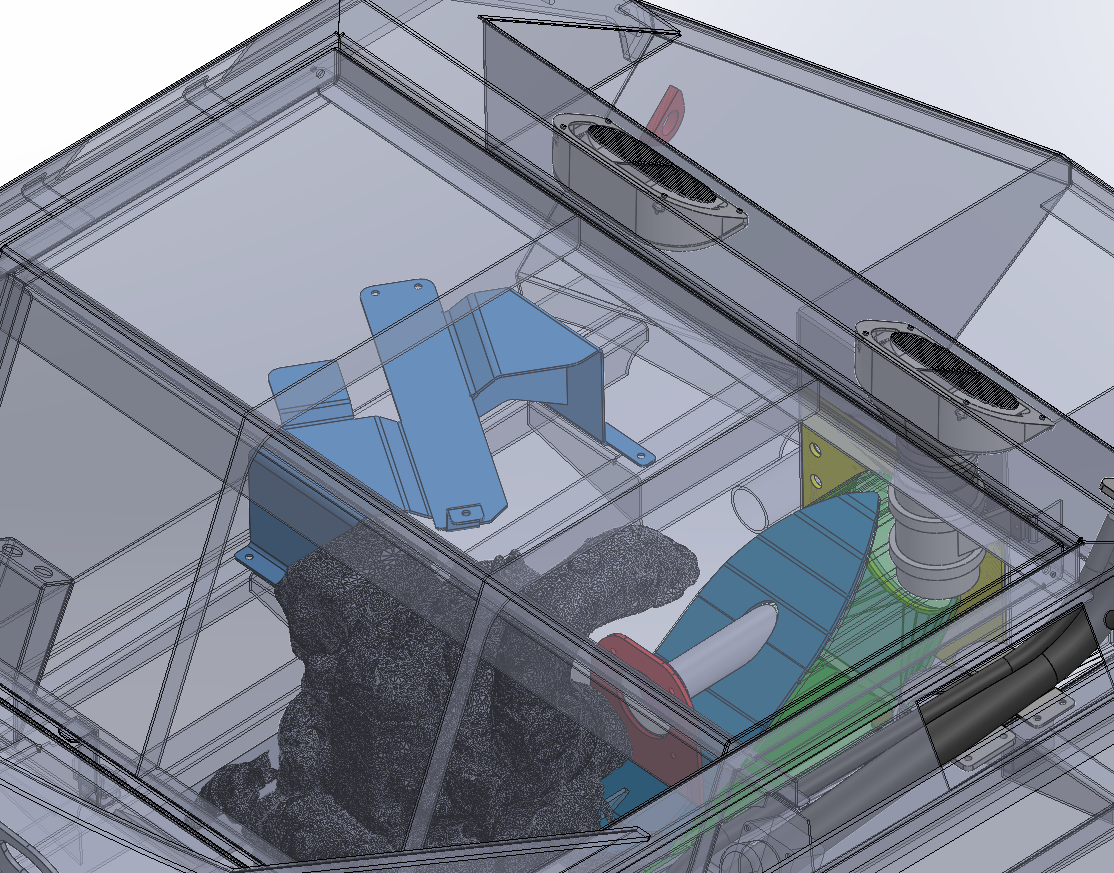
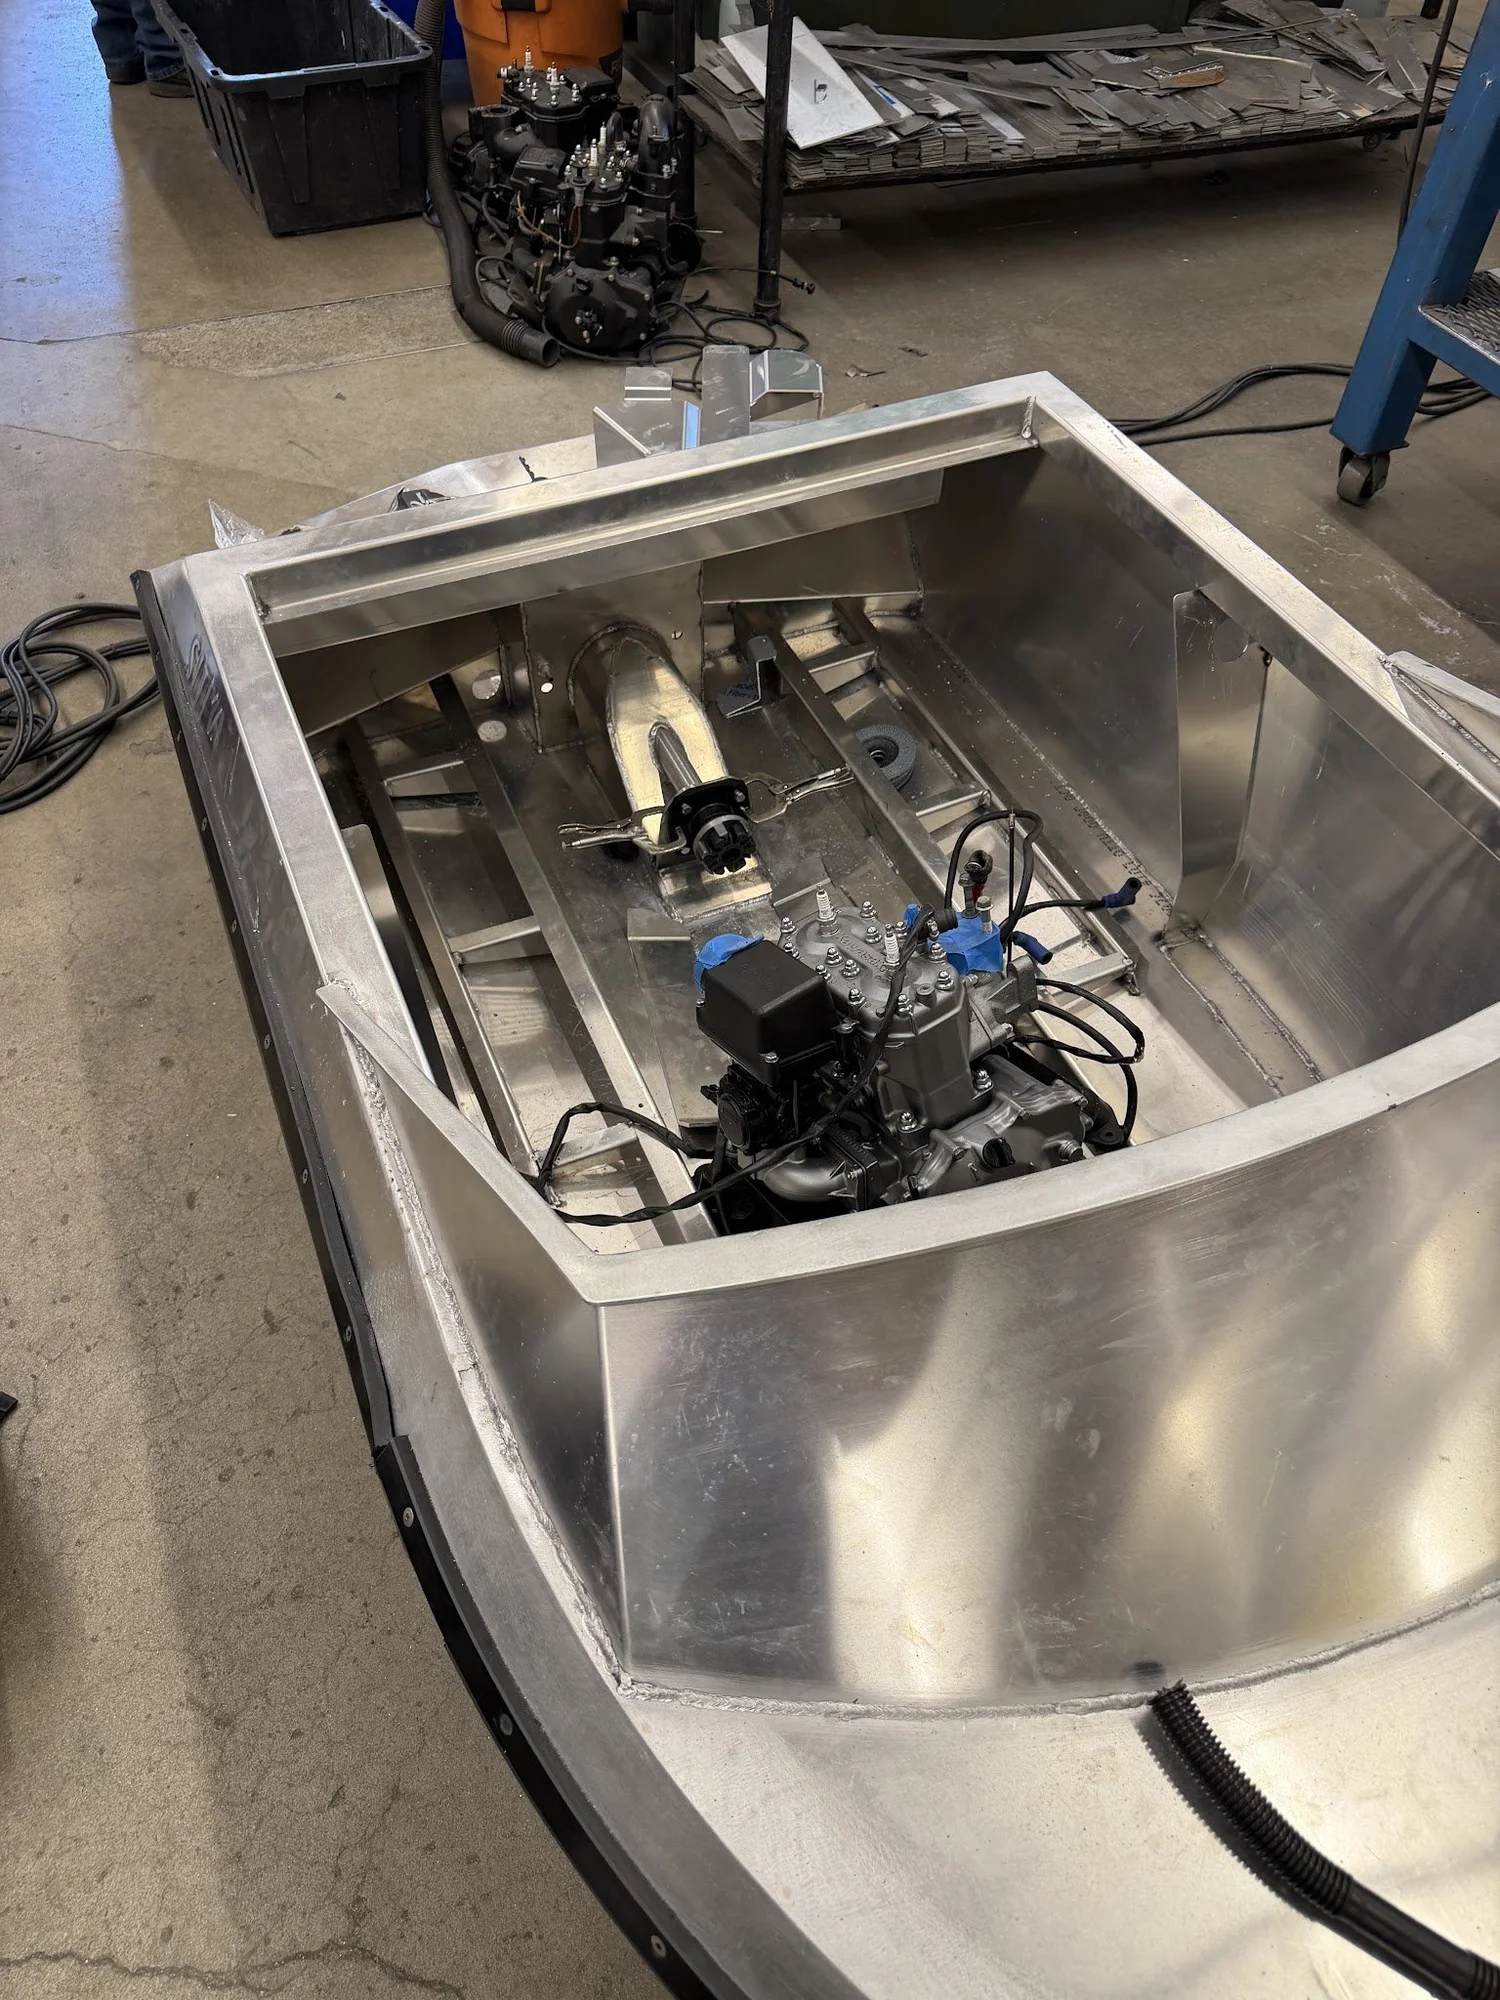
Use the service manual for the exact donor to plan disassembly, fluid handling and engine lifting. Before taking anything apart, record the running checks and photograph the complete installation.
- Label both ends. Give each disconnected hose and electrical connector a matching label. Photograph its route and connection before removal; bag the fasteners with the part they secure.
- Keep the matched equipment together. Store the engine electronics, display, working key, throttle, reverse and trim controls as one identified package. Retain brackets, clamps, seals and small fittings with their assemblies.
- Mark each part’s next job. Separate parts intended for reuse, parts needing repair or replacement, and parts kept as references. A cable, airbox or fuel filler that worked in the ski may need a different arrangement in the boat.
- Check before disposing of the shell. Reconcile the saved parts with your boat’s installation plan. Retain useful mounting and routing measurements, identification photos and purchase records.
Keep the labeled assemblies clean, dry and protected while the hull is being built.
Plan cooling and controls early
Know how the engine sheds heat
Raw-water cooling uses water drawn from outside the boat. A closed circuit circulates coolant and transfers its heat through a heat exchanger. Identify which arrangement your donor uses. For a closed-loop installation, include the heat exchanger, mounting space and plumbing in the plan. Check the exhaust cooling requirements separately: a closed-loop engine can still have a water-cooled exhaust.
The ride plate is the plate beneath the rear of the jet ski. If it also serves as a heat exchanger, removing the engine from the jet ski leaves that part of the cooling system behind. Plan a suitable heat exchanger and its connections as part of the conversion. Keep the engine and exhaust cooling routes clearly identified.
Keep electronic controls with the donor
For an electronically controlled throttle or reverse system, retain the original sensors, switches, connectors and associated equipment until the conversion plan is confirmed. Identify which components must be retained or adapted for the new helm.
Include the complete electronic reverse or trim system in the review where fitted. An actuator is the device that moves the reverse or trim mechanism. Its nozzle, sensors, controls and engine electronics may work together. Establish the integration plan before removing components or changing the wiring.
Map harness changes before cutting
A harness is the bundled wiring and connectors linking the engine’s electrical equipment. Identify it separately from the boat’s accessory circuits, such as lighting and the bilge pump. Record connector positions and wire identities from the donor’s wiring diagram; identical wire colors do not guarantee identical functions. Plan extensions along the actual route, including steering movement and room to disconnect components for service.
Keep the required sensors and interlocks functional. Check harness changes against the exact donor’s diagram, then test the controls and instruments before closing the loom or fitting interior panels.
Get a working key and record the security equipment
On Sea-Doo models equipped with D.E.S.S., the coded key must match the vehicle’s security system. Confirm that the supplied key works and retain its associated components; resolve missing-key or controller questions before dismantling.
Sea-Doo engine, exhaust and electronic-control documentation (PDF) · Sea-Doo coded-key documentation (PDF, page 59)
Mini jet boat build examples
A 3.3 m kit with a Yamaha WaveVenture 1100
A kit builder documented a 3.3 m aluminum hull kit powered by a 1996 Yamaha WaveVenture 1100. The installation needed an adapter for the shaft-bearing housing, a shortened driveshaft and changes to fit the exhaust. The original steering cable was also too short. Allow for adapters and controls in your parts list alongside the engine and pump.
Read the kit builder’s journal
A 10 ft aluminum boat with a Yamaha 701
A discussion of this Yamaha 701-powered, 10-foot aluminum boat describes improved performance after worn pump components were replaced. It also describes very little space between the exhaust pipe and the bulkhead. Check pump condition and exhaust clearance before planning engine upgrades.
Review your donor with Sitka
Send the listing and these details before buying your donor:
- Your Sitka hull model and selected options, intended passenger and gear load, and how you plan to use the boat.
- Donor make, model, year and engine identification, with clear label photos.
- Pump identification and photos of the intake, shaft support, coupling and mounts.
- Photos and measurements showing the engine, exhaust, waterbox and cooling equipment.
- The included electronics and controls, inspection results, and any missing or damaged parts.
Use the complete boat systems checklist to connect your donor inventory to the rest of the build.
Compare the donor price with the expected repairs, missing components and installation work. Review those items alongside the other costs of your build.